
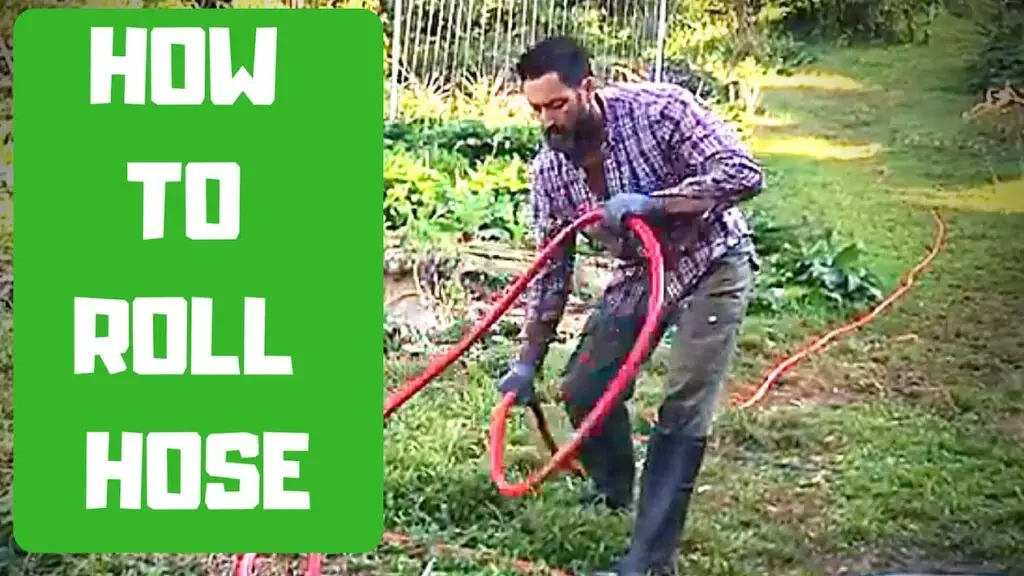
How to Roll Up a Hose?
Table of Contents
Rolling up a garden hose sounds like one of the simplest jobs around the yard, but doing it incorrectly can quickly lead to kinks, twists, cracked hose walls, damaged fittings, and a frustrating tangled mess the next time you need to water something.
A properly rolled hose takes up less space, lasts longer, and is much easier to use. Whether you store your hose by hand, on a wall-mounted holder, on a reel, or on a hose cart, there are a few simple techniques that make a big difference.
In this guide, we’ll explain exactly how to roll up a hose correctly, what mistakes to avoid, which storage methods work best, and whether a hose reel is actually worth buying.
Why Proper Hose Storage Matters
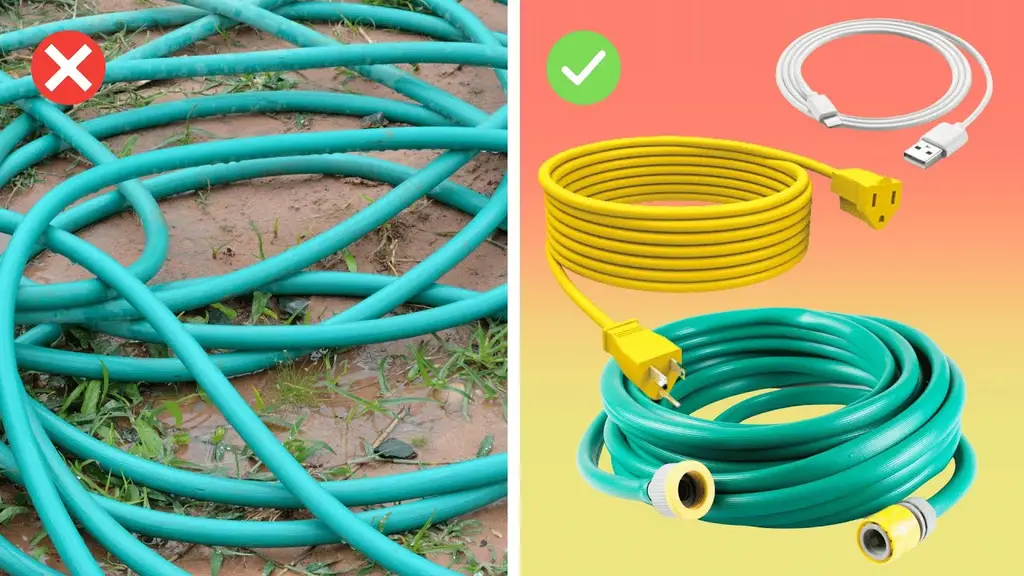
Most garden hoses are designed to bend, but they are not designed to stay sharply folded or twisted for long periods.
When a hose is repeatedly stored with tight kinks, the material can weaken. Eventually, those damaged sections may become permanently flattened or develop small cracks and leaks.
Poor storage can also damage the fittings at both ends of the hose. If a heavy coil of hose is hanging from the faucet, for example, unnecessary pressure is placed on the connector.
Correct storage helps:
- Prevent kinks and twists
- Reduce cracks and leaks
- Protect hose fittings
- Keep the yard or garage organized
- Make the hose easier to unwind
- Extend the overall life of the hose
Even a relatively inexpensive hose can last much longer when it is stored properly.
Step 1: Turn Off the Water
Before rolling up the hose, completely shut off the outdoor faucet.
Then squeeze the nozzle or spray gun for a few seconds to release the pressure that remains inside the hose.
This step is important because a pressurized hose is heavier and more difficult to coil.
Water trapped inside the hose can also make it harder to create smooth loops.
Step 2: Disconnect the Hose If Necessary
If you plan to store the hose for a long period, especially during winter, disconnect it from the faucet.
For everyday summer use, leaving the hose connected is usually fine as long as the hose is supported properly.
However, avoid letting the entire weight of a rolled hose hang directly from the faucet connection.
That can eventually damage the hose connector or even the faucet itself.
Step 3: Drain the Hose
One of the most useful habits when storing a garden hose is removing as much water as possible.
Start near the faucet end and gradually lift sections of the hose while moving toward the opposite end.
Gravity will push the remaining water out.
You do not necessarily need to remove every drop after normal watering, but draining most of the water makes the hose lighter and easier to handle.
It becomes especially important before freezing weather.
Water expands when it freezes, and trapped water can damage both the hose and its fittings.
Step 4: Straighten the Hose
Before you start making loops, stretch the hose out as straight as possible.
This gives the hose a chance to remove any existing twists.
If you immediately start coiling a twisted hose, those twists become trapped inside the coil.
Later, when you unroll the hose, it may kink almost immediately.
Take a few seconds to walk along the hose and remove any obvious twists.
Step 5: Start Making Large Loops
Begin at one end of the hose and create large, relaxed loops.
A good loop is usually around 2 to 3 feet, or approximately 60 to 90 centimeters, in diameter.
The exact size depends on the hose and your storage space.
Avoid making extremely small loops.
Tight coils place unnecessary stress on the hose material and make kinks more likely.
Try to keep every loop approximately the same size.
This creates a neat coil that is much easier to carry and store.
Step 6: Let the Hose Rotate Naturally
This is one of the most important tricks when coiling a hose by hand.
As you create each loop, allow the remaining hose to rotate naturally on the ground.
Do not force the hose into a coil while ignoring the twist building inside it.
If you notice the hose twisting, slightly rotate the section in your hand before creating the next loop.
Some people also alternate the direction of the loops slightly.
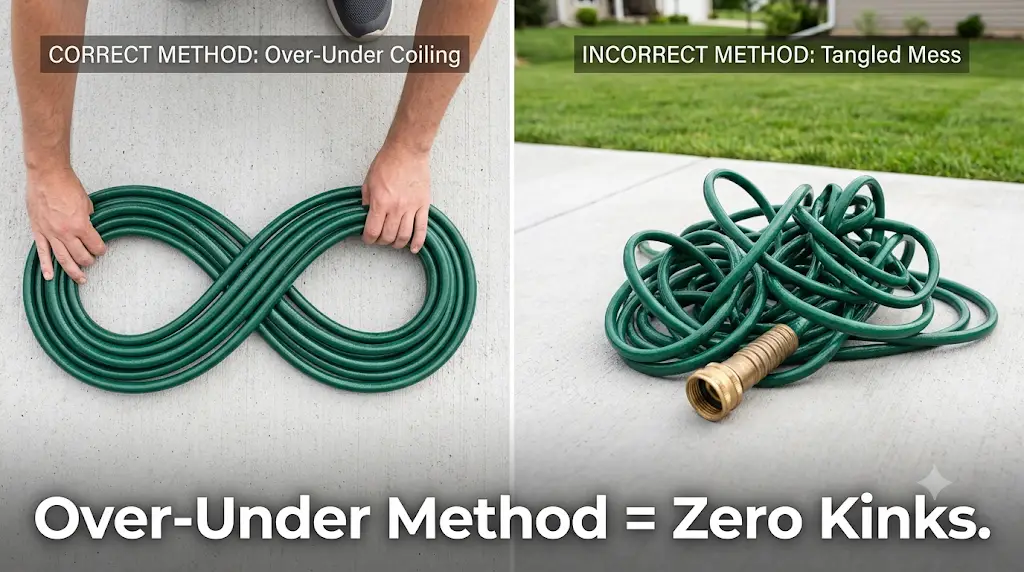
This technique is similar to the “over-under” method commonly used for electrical and audio cables.
It helps prevent internal twisting.
The Over-Under Method
The over-under method is especially useful for long, flexible hoses.
The first loop is made normally.
For the second loop, slightly twist the hose in the opposite direction before placing it into the coil.
Then alternate between the two movements.
This prevents the hose from developing a strong spiral memory.
The technique may feel strange at first, but once you learn it, long hoses become much easier to manage.
It is particularly useful for rubber hoses and heavy-duty contractor-style hoses.
Step 7: Secure the Coil
Once the hose is completely rolled, secure it if necessary.
You can use:
- A hose strap
- Velcro strap
- Rubber tie
- Hose hanger
- Storage hook
- Hose reel
Avoid tying the hose tightly with thin wire or string.
A narrow tie can press into the hose material and cause permanent deformation.
A wide strap is much safer.
Using a Hose Hanger
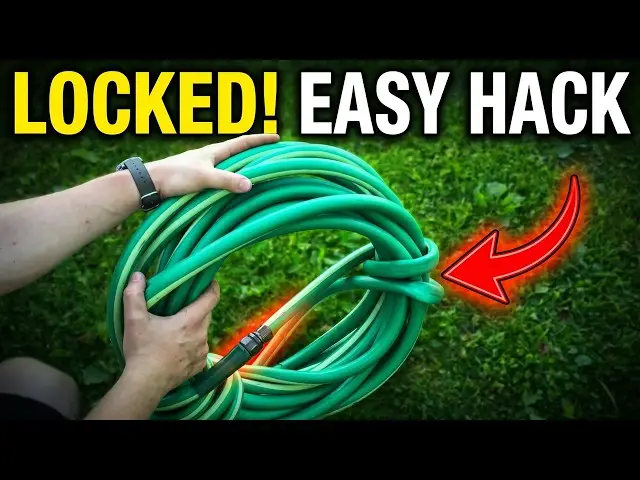
A hose hanger is probably the simplest storage option.
It mounts to a wall, fence, garage, or shed.
You manually create loops and place them over the hanger.

Pros
- They also take up very little space.
- There are almost no moving parts to break.
- Hose hangers are inexpensive, simple, and reliable.

Cons
- Very long hoses can also become heavy when stored on a small wall bracket.
- You still have to manually coil the hose.
Best For
Hose hangers are excellent for hoses between approximately 25 and 75 feet.
For a typical homeowner, this is often the best combination of simplicity and price.
Using a Manual Hose Reel
A manual hose reel uses a rotating drum and a crank handle.
Instead of creating loops by hand, you turn the handle while the hose wraps around the reel.
How to Use It Correctly
Before turning the handle, straighten the hose.
Then begin cranking slowly while using your free hand to guide the hose evenly across the reel.
Do not allow the hose to pile up on one side.
Move it from side to side as the reel rotates.
This creates even layers.
Pros
- A manual hose reel provides very neat storage.
- It also protects the hose from becoming tangled.
- Long hoses are much easier to manage.
Cons
- Handles may feel weak, plastic connectors can leak, and narrow reels sometimes cause the hose to bunch together.
- Cheap reels can be frustrating.
Best For
Manual reels work very well for hoses around 50 to 150 feet long.
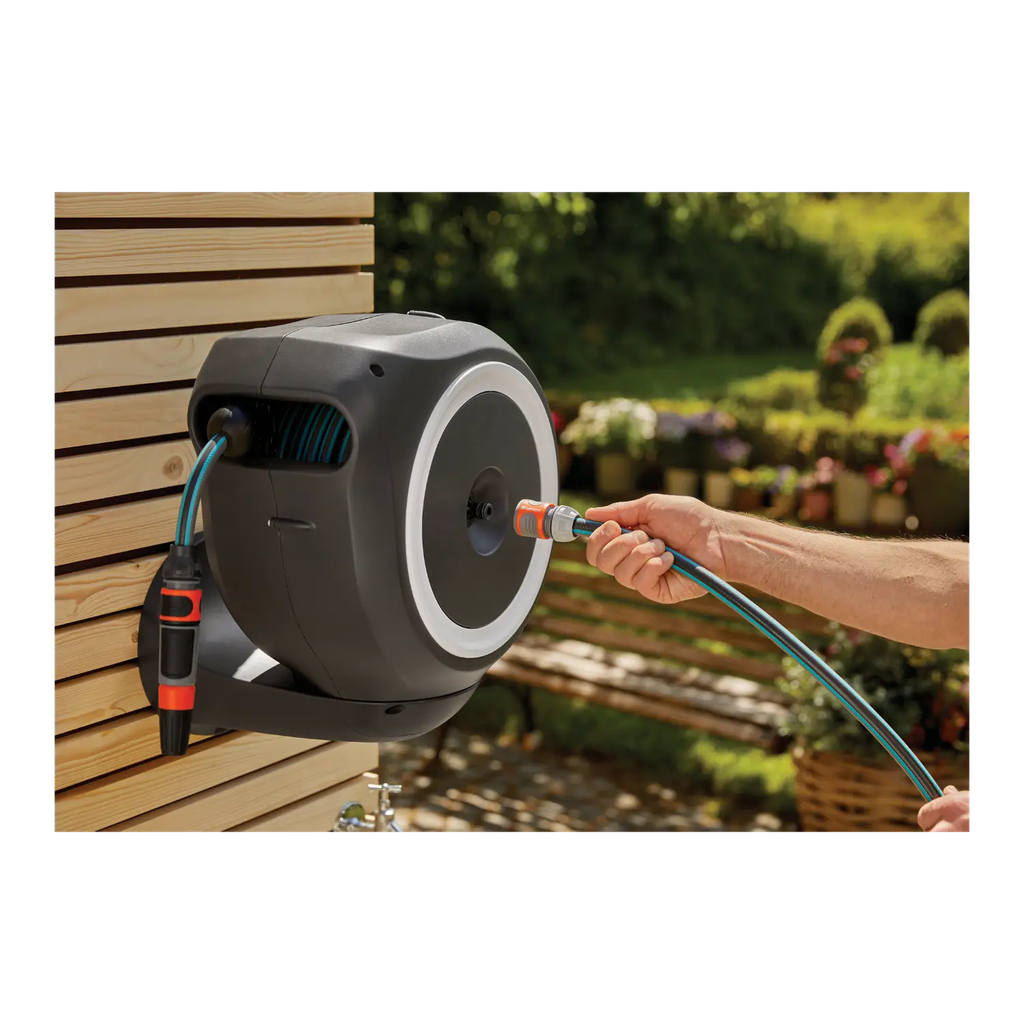
Retractable Hose Reels
Retractable reels have become increasingly popular.
The hose is stored inside an enclosed housing with a spring-loaded mechanism.
You pull the hose out when needed and allow the mechanism to retract it afterward.
Pros
- Convenience is the biggest advantage.
- There is almost no manual coiling.
- The enclosed housing can also protect the hose from sunlight and weather.
Cons
- You should normally guide the hose back instead of simply releasing it.
- Some models also retract very aggressively.
- The internal spring or locking mechanism can eventually wear out.
- Retractable reels are more complicated than basic hose holders.
Best For
Retractable reels are excellent for people who use their hose frequently and want the quickest possible cleanup.
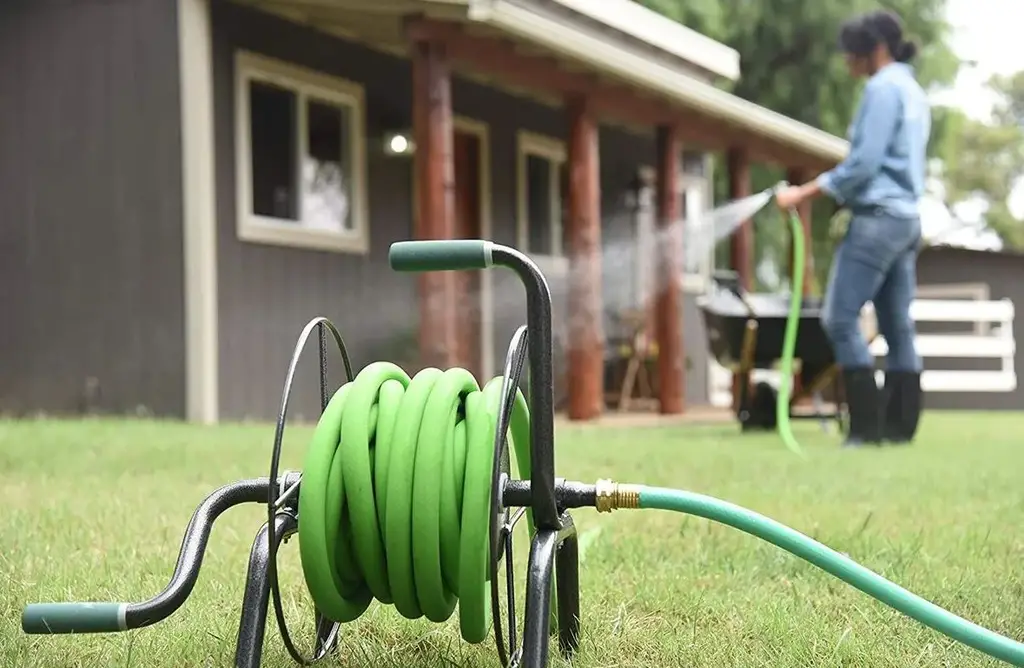
Hose Reel Carts
A hose reel cart combines a reel with wheels.
These are particularly useful for large yards.
Instead of permanently mounting the hose in one location, you can move the entire reel.
Pros
- Many carts can hold 150, 200, or even 300 feet of hose.
- Easy to move around large properties.
- Excellent for very long hoses.
Cons
- Metal carts can also rust if they are constantly left outdoors.
- Cheap models may become unstable when fully loaded.
- They require more storage space.
Best For
Large gardens, large lawns, workshops, farms, and properties requiring very long hoses.
How Tight Should You Roll a Hose?
The hose should be neatly coiled but never tightly stretched around the reel or hanger.
You want gentle curves.
If the hose looks flattened or sharply bent anywhere in the coil, the loops are probably too small.
Flexible hoses tolerate smaller loops better than thick heavy-duty hoses.
Rubber hoses generally prefer larger loops because they are heavier.
Should You Roll the Hose While It Is Pressurized?
Ideally, no.
Turn off the water and release pressure before storing the hose.
A hose filled with pressurized water is heavier and more difficult to control.
Rolling it tightly while pressurized can also place extra strain on connectors.
Should You Drain a Hose Every Time?
During normal warm-weather use, you do not need to perfectly drain every drop.
However, allowing most of the water to escape before storage makes the hose much easier to roll.
Before freezing temperatures, completely draining the hose is extremely important.
Common Hose Rolling Mistakes
- Making Very Small Loops
Small loops create sharp bends.
Over time, these bends can become permanent kink points.
Use larger loops instead.
- Ignoring Twists
If the hose is twisted before you start rolling, the finished coil may look fine but become extremely tangled when you use it again.
Straighten the hose first.
- Pulling Too Hard
Do not stretch the hose tightly around a reel.
A little slack is better.
- Leaving the Hose Under Pressure
Always shut off the faucet before long-term storage.
- Leaving Water Inside During Winter
This is one of the most damaging storage mistakes.
Freezing water expands and may crack the hose or fittings.
- Leaving the Hose in Direct Sunlight
UV exposure can gradually weaken many hose materials.
A shaded storage location or enclosed hose reel can extend hose life.
- Leaving the Hose on the Ground
A hose left across the yard may be damaged by lawn equipment, vehicles, pets, or foot traffic.
It also stays exposed to sunlight and weather.
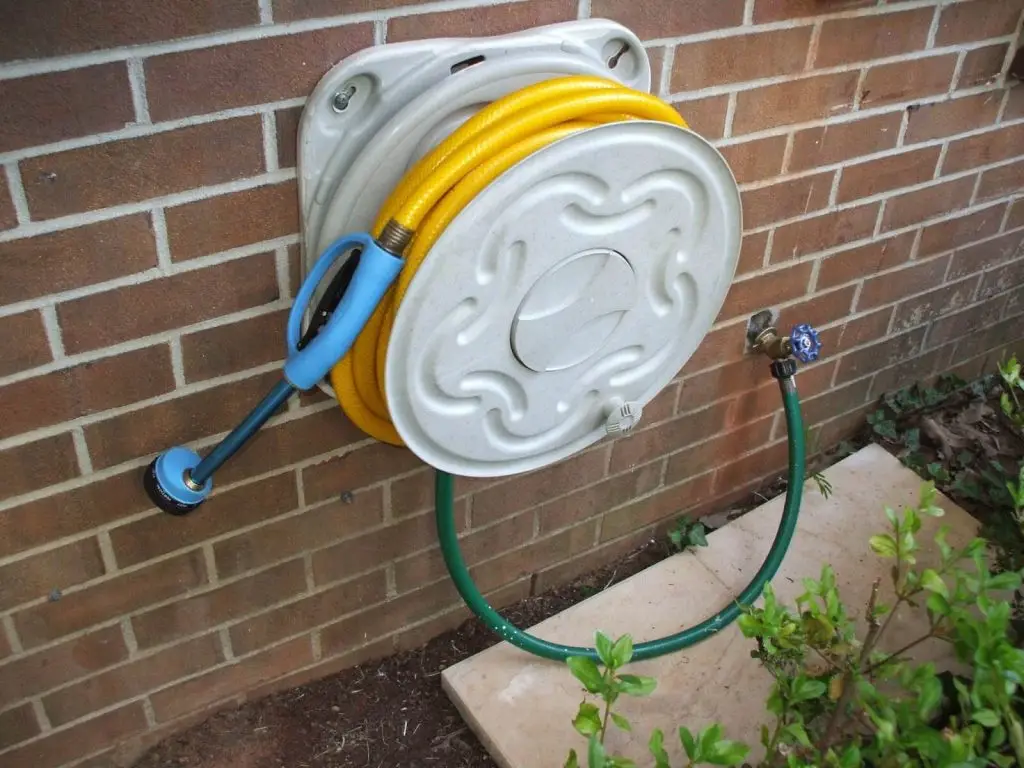
Best Way to Roll a 50-Foot Hose
A 50-foot hose is usually easy to handle manually.
Straighten the hose, drain most of the water, and create large loops approximately 2 to 3 feet across.
Store the coil on a wide wall-mounted hose hanger.
For many homes, there is little reason to buy an expensive hose reel for a hose this length unless convenience is especially important.
Best Way to Roll a 100-Foot Hose
Once hose length reaches around 100 feet, manual coiling becomes noticeably more difficult.
A hose reel becomes much more useful.
Use a wide reel with enough capacity so the hose is not tightly compressed.
Guide the hose evenly while turning the crank.
A reel rated for at least 125 to 150 feet is often preferable for a 100-foot hose because it gives you additional space.
Best Way to Store an Expandable Hose
Expandable hoses require slightly different treatment.
Allow all water pressure to escape first.
The hose should naturally shrink back to its original length.
Do not tightly wrap or sharply fold it.
Expandable hoses are lightweight, so a small storage container or hose hanger usually works well.
Keep them away from sharp objects because their outer fabric can be damaged relatively easily.
Best Way to Store a Heavy Rubber Hose
Rubber hoses are extremely durable but heavy.
Use large loops and a strong hose hanger or heavy-duty reel.
Avoid small plastic hangers that may bend under the weight.
Rubber hoses are excellent candidates for hose carts because their weight becomes much more noticeable at lengths of 75 to 100 feet.
Winter Hose Storage
If temperatures in your area drop below freezing, proper winter storage is especially important.
First disconnect the hose from the faucet.
Remove any nozzle, sprinkler, or spray gun.
Drain the hose completely.
Stretch it across a slight slope if necessary so gravity removes trapped water.
Then create large loose loops.
Store the hose in a garage, basement, shed, or another protected location.
Indoor storage is ideal, especially for expandable and vinyl hoses.
Do not leave the hose connected to the outdoor faucet during freezing weather.
This can potentially damage both the hose and your plumbing.
Hose Hanger vs Hose Reel
For shorter hoses, a hanger is usually the better value.
It costs less, requires almost no maintenance, and works perfectly well.
For longer hoses, a reel becomes more useful.
The difference becomes especially noticeable with 75- to 150-foot hoses.
Retractable reels offer the greatest convenience but also have the most complicated mechanism.
For maximum reliability, a simple manual reel is hard to beat.
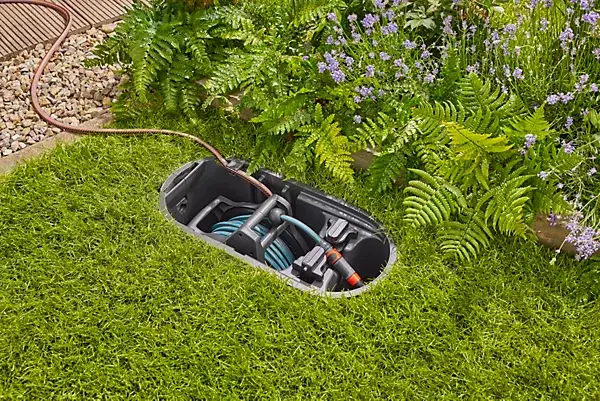
Is an Automatic Retractable Reel Worth It?
For frequent hose users, yes.
If you water plants, wash cars, or clean outdoor surfaces several times per week, automatically retracting the hose saves a surprising amount of time.
However, a good retractable reel usually costs significantly more than a simple hanger.
If you only use your hose occasionally, the extra cost may not be necessary.
Garden Hose Storage Method Review
- Manual Coiling
Ease of use: 7/10
Cost: 10/10
Reliability: 10/10
Best for: Short hoses
Manual coiling costs nothing and works extremely well when done correctly.
The downside is simply the extra effort.
- Wall Hose Hanger
Ease of use: 8/10
Cost: 9/10
Reliability: 10/10
Best for: 25- to 75-foot hoses
For most homeowners, this may be the best overall option.
It is inexpensive, simple, and durable.
- Manual Hose Reel
Ease of use: 9/10
Cost: 8/10
Reliability: 9/10
Best for: 50- to 150-foot hoses
A good manual reel makes long hoses much easier to manage.
Choose a sturdy model with metal or high-quality fittings whenever possible.
- Retractable Hose Reel
Ease of use: 10/10
Cost: 6/10
Reliability: 7/10
Best for: Frequent everyday use
Retractable reels offer excellent convenience.
The only real disadvantages are higher price and more complicated internal mechanisms.
- Hose Reel Cart
Ease of use: 9/10
Cost: 7/10
Reliability: 9/10
Best for: Large yards and long hoses
For properties requiring 100 feet or more of hose, a reel cart is often the most practical solution.
Final Verdict
The best way to roll up a garden hose is surprisingly simple: remove the water pressure, drain most of the remaining water, straighten the hose, and create large relaxed loops without allowing twists to build up.
For shorter hoses, manual coiling combined with a wide wall-mounted hanger is usually all you need.
For hoses around 75 to 150 feet long, a manual hose reel offers an excellent balance between convenience, durability, and price.
Retractable reels are the easiest option for everyday use, while reel carts are the better choice for very large yards and extremely long hoses.
Regardless of which storage system you choose, the most important rule is to avoid sharp bends and permanent kinks.
A few extra seconds spent rolling your hose correctly can make it much easier to use and may add years to its lifespan.
READ ALSO: Wall Mounted Pressure Washer